Home EV Charger Installation: What Safe Level 2 Charging Actually Requires
Published on August 31, 2026
The car shows up, and within a week most people discover the same thing. The cord that came in the trunk plugs into any ordinary wall outlet and adds roughly three to five miles of range an hour, which is fine if you drive twelve miles a day and terrible if you do not. So you start shopping for a Level 2 charger, and the shopping part is easy. Good units cost $300 to $700 and the reviews are thorough.
The unit on the wall is the cheap part. What you are actually buying is a 240 volt circuit, and that circuit is one of the largest continuous loads anyone will ever add to a house. It pulls close to its maximum for six or eight hours at a stretch, usually overnight, usually unattended, usually in a garage attached to the room where you sleep. Every other big appliance in the house cycles. This one does not.
That is why the install matters more than the brand. Before anything else: if a charger, plug, or receptacle is ever hot to the touch, smells like burning plastic, or shows browning around the slots, stop charging, switch off the breaker, and call a licensed electrician. If you see smoke or flame, get everyone out and call 911 before you do anything else.
Level 1, Level 2, and What You Are Actually Buying
Level 1 is the cord in the trunk: 120 volts, a standard receptacle, and a trickle. Level 2 is 240 volts, and it charges at least four times faster, which is why Wirecutter and every other reviewer treats it as the default for anyone who owns rather than borrows an EV.
Home units are usually sold at 32, 40, or 48 amps, which works out to roughly 7.7, 9.6, and 11.5 kilowatts. In range terms that is somewhere between 25 and 40 miles added per hour, depending on the car.
Note that “depending on the car” carefully, because it is where money gets wasted. Your charge rate is capped by whichever is smaller, the wall unit or the vehicle’s onboard charger. Plenty of EVs accept only 32 or 40 amps on AC no matter what you hang on the wall. Buying a 48 amp unit for a car that tops out at 32 amps does nothing except commit you to a bigger, more expensive circuit. Look up your vehicle’s AC acceptance rate first, then size the equipment to it.
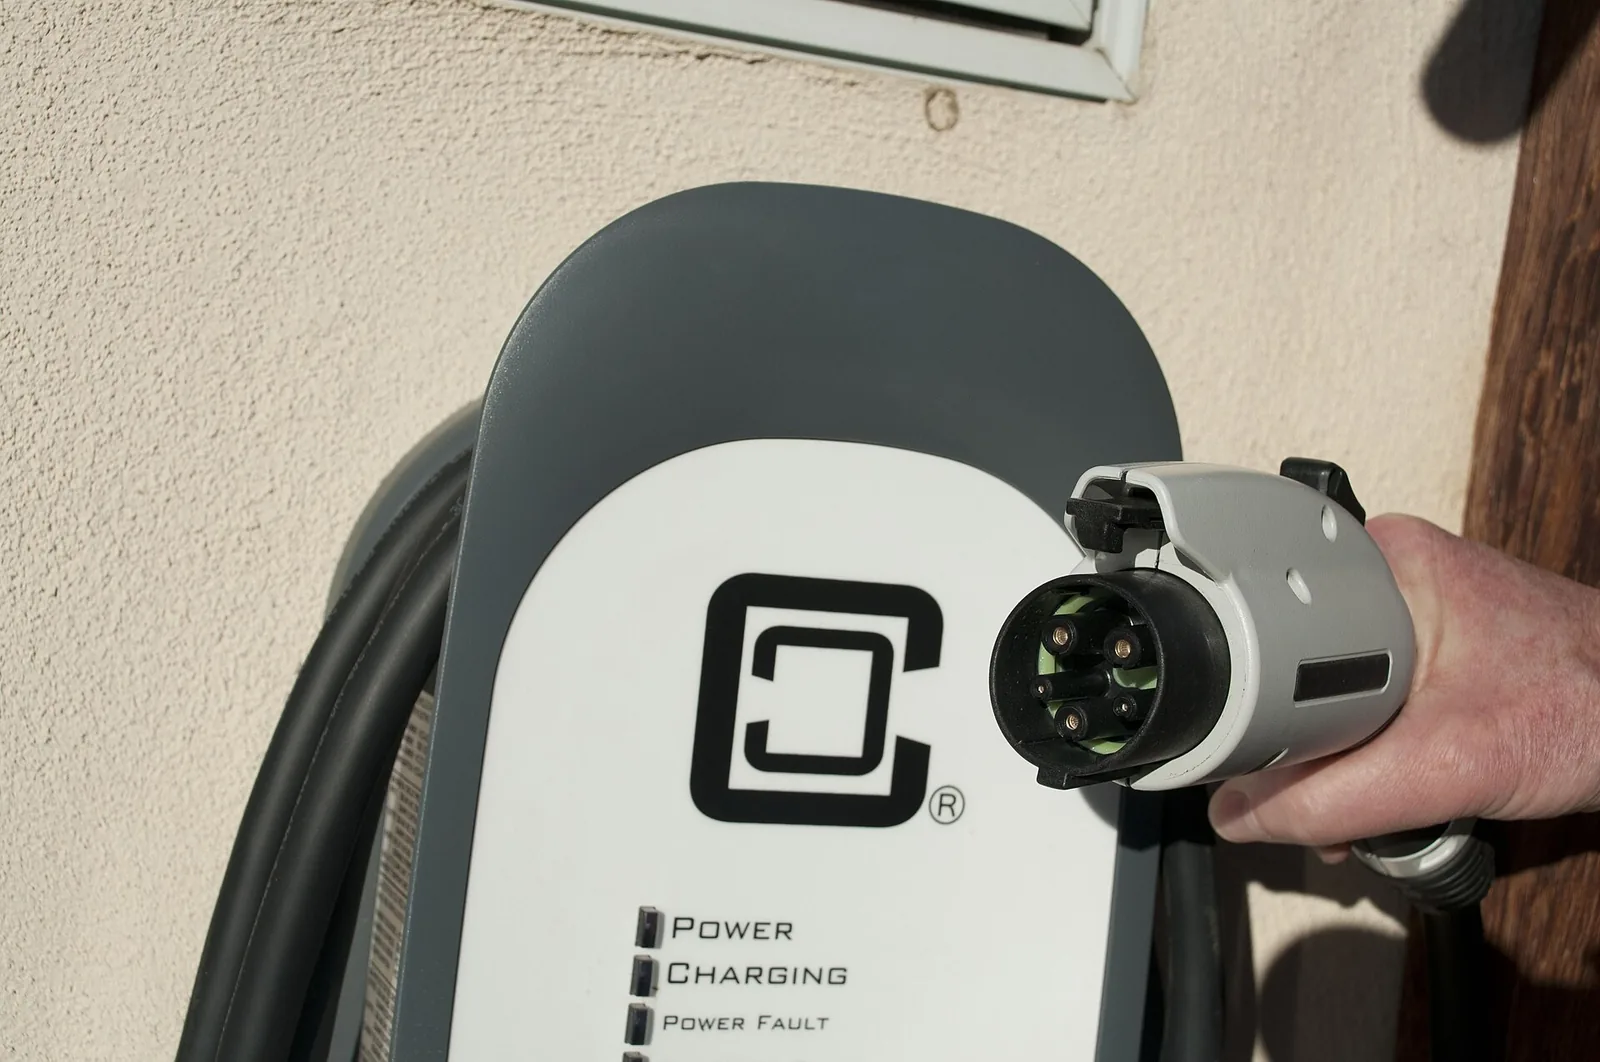
One piece of vocabulary that clears up a lot of confusion: the box on your wall is not really the charger. The charger lives inside the car. The wall unit is electric vehicle supply equipment, and its job is to be a very careful switch. It confirms the vehicle is connected and grounded, negotiates how much current the car may draw, and monitors for leakage current so it can cut power in milliseconds if something goes wrong.
The Dedicated 240 Volt Circuit Is the Whole Job
Dedicated means exactly that. Nothing else shares the circuit, not the freezer, not the shop lights, not the dryer.
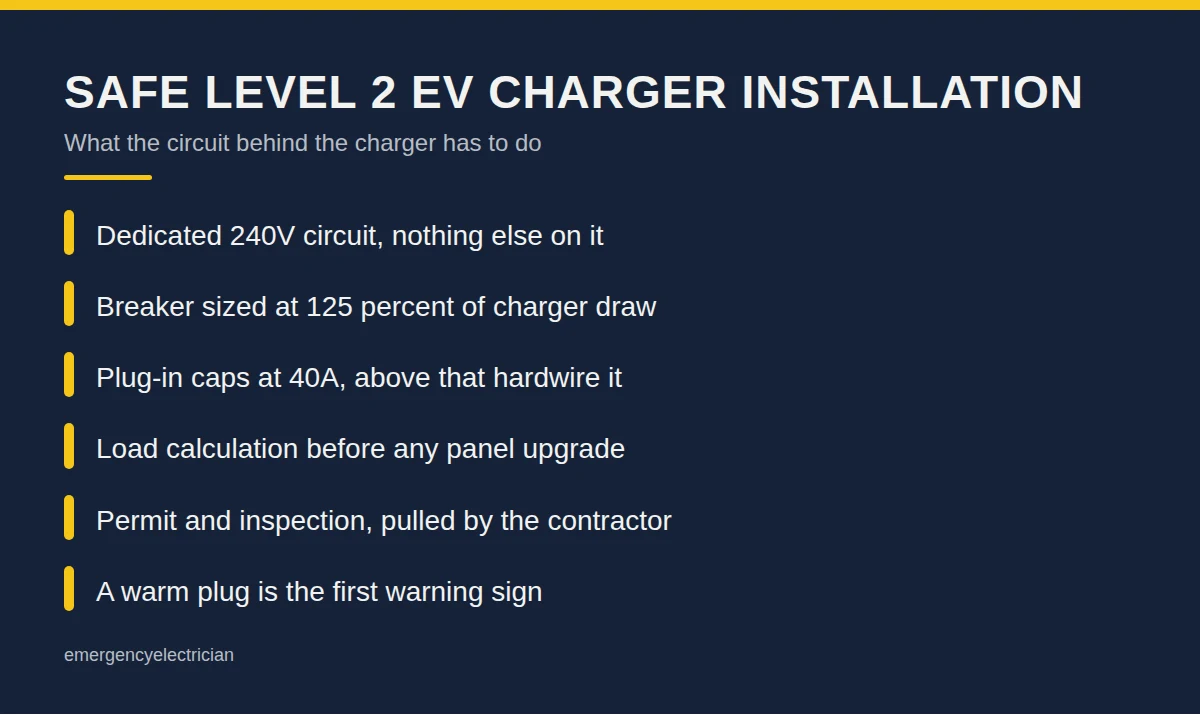
The National Electrical Code treats EV charging as a continuous load, meaning three hours or more at full draw, so the circuit gets sized at 125 percent of the charger’s maximum current. That produces a rule homeowners find backwards at first: a 32 amp charger needs a 40 amp breaker, a 40 amp charger needs a 50 amp breaker, and a 48 amp charger needs a 60 amp breaker. You never put a 50 amp charger on a 50 amp breaker.
Conductors follow the breaker, not the charger. A 50 amp circuit generally wants 6 AWG copper. A 60 amp circuit wants 6 AWG in conduit, or 4 AWG if the run is standard NM cable, because that cable’s temperature rating limits it below what the same copper could carry in conduit. Long runs get upsized again for voltage drop, aluminum needs a size up plus compatible terminations, and hot attics derate everything. This is genuinely an electrician’s calculation rather than a chart lookup, and “the guy said 6 gauge is fine” is not an answer.
Two more non-negotiables. The equipment grounding conductor is not optional, and a 14-50 is a four wire device (two hots, a neutral, and a ground), so the old three wire dryer receptacle in the garage is not a legal substitute no matter how convenient it looks. And ground fault protection applies: garages and outdoor locations require it, listed EVSE carries its own internal leakage detection, and stacking a GFCI breaker on top of that is a well known source of nuisance tripping. Our explainer on how AFCI and GFCI protection differ covers what each device is actually watching for.
Nothing about this works through an extension cord, a plug adapter, or a splitter, and the reasons are the same ones behind why extension cords start so many house fires.
Plug-In or Hardwired: The NEMA 14-50 Question
A plug-in install ends at a NEMA 14-50 receptacle and the charger plugs into it. A hardwired install runs the conductors straight into the unit. Both are legitimate, and the choice has real consequences.
Plug-in is flexible. You can unplug the unit and take it when you move, and swapping a failed charger takes ten minutes instead of a service call. The tradeoff is a ceiling: a receptacle install is limited to 40 amps continuous on a 50 amp circuit, because the receptacle becomes the limiting device. Anything above that gets hardwired.
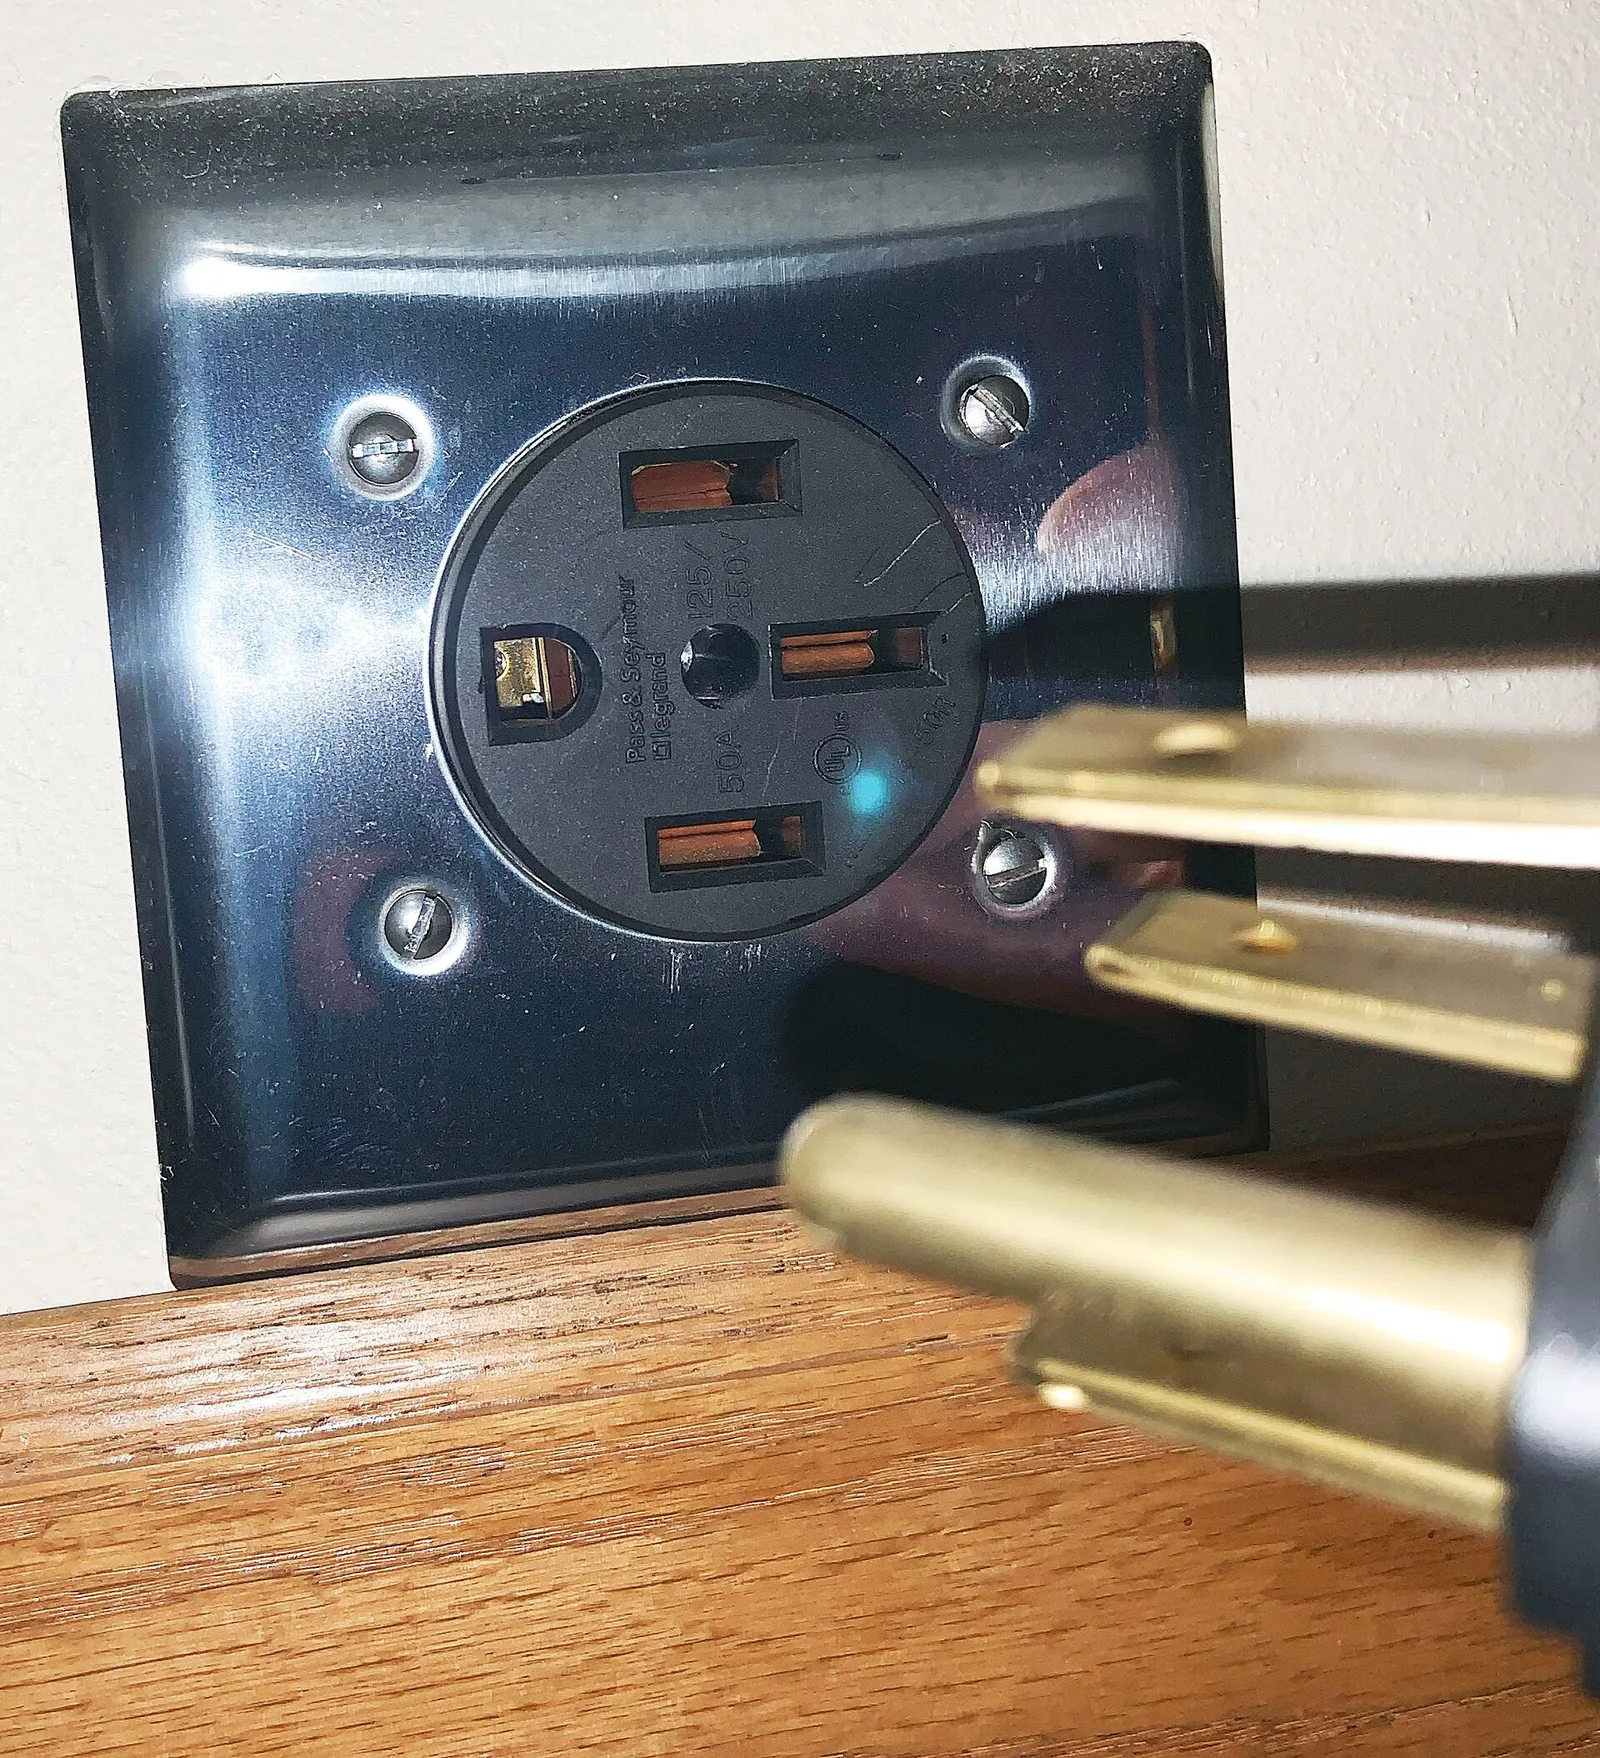
Here is the part almost nobody is told. That receptacle was designed for a range or an RV, appliances that get plugged in once and then draw hard for an hour at Thanksgiving. You are asking it to carry 40 amps for eight hours a night, every night, for years. Builder grade 14-50s cost about twelve dollars and use thin stamped contacts that gradually lose spring tension under that duty. Loose contact means resistance, resistance means heat, and heat is why melted 14-50 faces are the single most photographed failure in EV owner forums.
If you go plug-in, specify an industrial or commercial grade receptacle by manufacturer and part number, and expect the device alone to cost $50 to $100. Ask that terminations be torqued to the marked specification, because loose lugs account for most of the rest of those melted outlets. If none of that appeals, hardwire it. Hardwiring removes the connection point that fails and is the better answer for anything mounted outdoors.
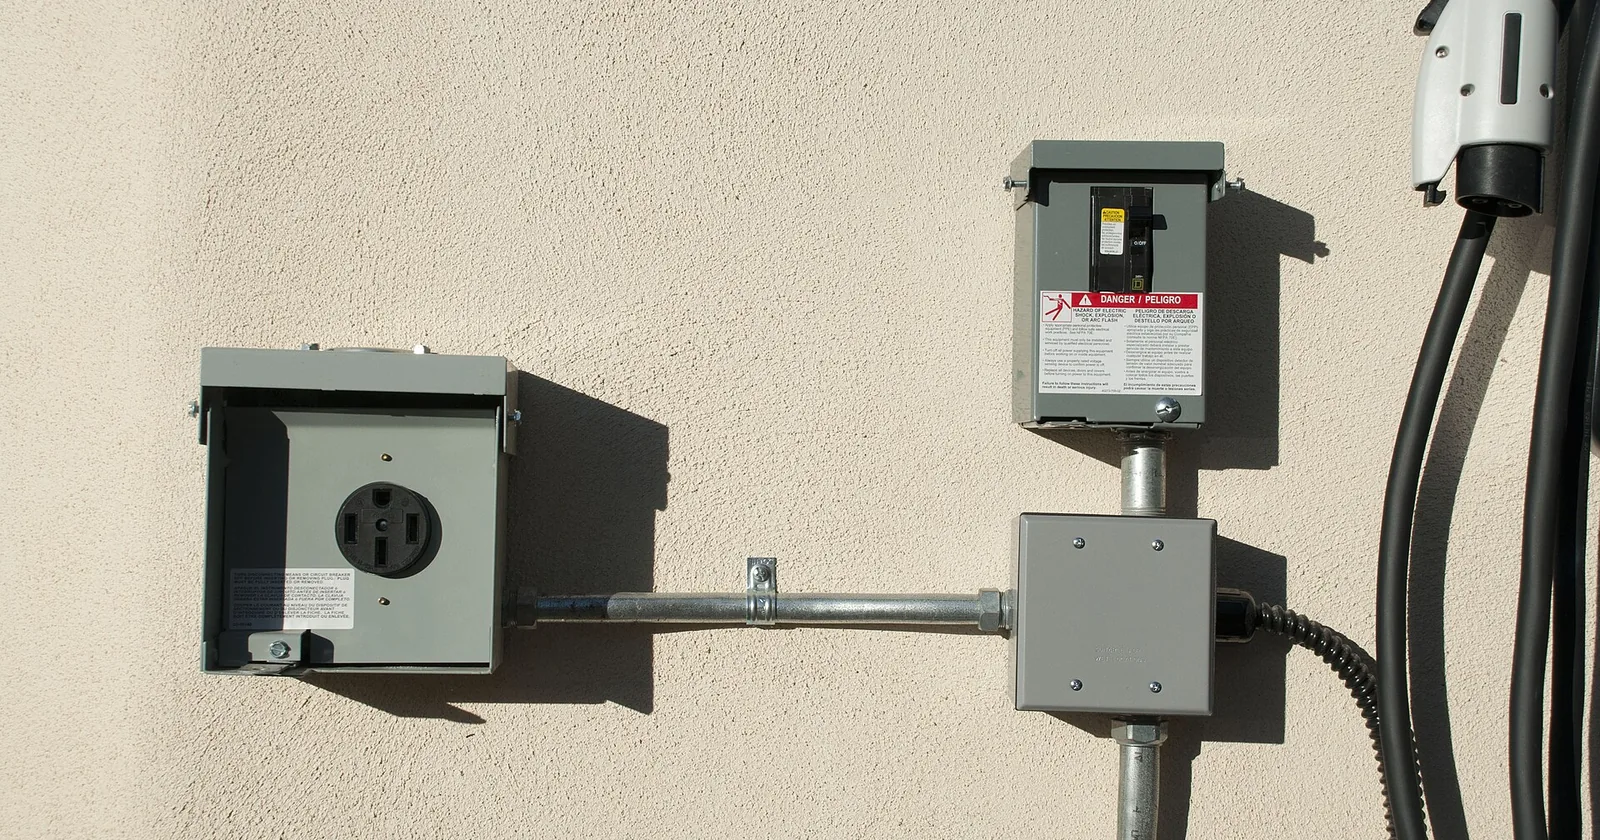
Worth adding either way: a disconnect switch near the unit, like the one in the photo at the top of this page, so you can kill power to the charger without walking to the panel.
Panel Capacity and the Load Calculation That Comes First
A 60 amp circuit is a large bite out of a residential service. On 100 amp service feeding electric heat and an electric range, there may be no room at all, and finding that out after the charger is on the wall is an expensive way to learn it.
There are two legitimate ways to answer the question. The first is a calculation under Article 220 of the code, which tallies square footage, appliances, and heating and cooling, then applies demand factors. The 2026 edition reorganized this: dwelling unit calculations moved to Section 120.41 and the general lighting load dropped from 3 volt-amperes per square foot to 2, so the same house frequently calculates with more headroom than it did under the previous edition. It is fair to ask which code edition your electrician is working from.
The second method usually wins for an existing home. Section 220.87 permits the electrician to use your actual metered demand: take the highest demand recorded over the previous twelve months, multiply by 125 percent, add the charger, and see whether the total fits. Most utilities will provide that interval data on request, and it regularly reveals room nobody expected, because real households never run everything at once. Our full guide to reading your panel and service capacity walks through what those numbers mean.
If the load genuinely does not fit, a service upgrade is not the only option. Energy management systems and chargers with adjustable, access restricted current settings can throttle or pause charging when the dryer and the oven are both running. The code recognizes these arrangements, and they routinely cost thousands less than new service entrance conductors and a new meter socket. Ask for that comparison in writing before you accept a panel upgrade as inevitable.
One practical detail: a 240 volt breaker needs two adjacent full size slots. Half height tandem breakers cannot do the job, so a panel that looks like it has space sometimes does not. And if you are considering a bidirectional setup where the car powers the house, that is a substantially different install with its own hardware, covered in our piece on using solar and a bidirectional EV for backup power.
The Permit Is Not Red Tape
A permit means somebody who does not work for your contractor looks at the conductor size, the breaker size, the grounding, the ground fault protection, and the working clearance around the panel before the wall closes up.
It also matters after the fact in three ways people underestimate. An unpermitted install that starts a fire is an argument you do not want to be having with a claims adjuster. Most utility and state charger rebates require proof of permit and final inspection. And unpermitted 240 volt work turns up during home sale inspections, where it becomes a price negotiation.
Permits typically run $50 to $200 and the contractor should pull it. If an electrician suggests you pull a homeowner permit instead for a circuit like this, understand what is happening: liability is being moved onto you. Requirements vary by municipality, so confirm with your local building department rather than assuming the rules from the next town over apply.
Warning Signs of a Bad Install
A correctly built EV circuit is boring. Everything stays close to room temperature, the breaker never moves, and the charger reports no faults. Departures from boring are worth taking seriously.
Warm or hot at the plug. After several hours of charging, a properly sized and properly torqued connection should be barely warmer than the wall around it. Noticeably warm is a warning. Too hot to hold is stop immediately.
Discoloration, deformation, or smell. Browning or scorching around the receptacle slots, a plug housing that has softened or warped, or the smell of hot plastic all mean the connection is failing. Replace the receptacle and the plug together and have the circuit inspected. Swapping only the outlet leaves half the damaged pair in service.
Repeated breaker trips. Sometimes a real fault, more often an undersized breaker or a charger configured above what the circuit supports. Either way, a breaker that keeps opening is reporting something true, and our diagnostic guide to nuisance trips sorts out the possibilities.
Persistent ground fault errors from the charger. The unit is detecting leakage current. That is the safety system working, not a glitch to reset your way past.
Buzzing or crackling from the receptacle or the disconnect, which usually means arcing at a loose termination.
In any of these cases, stop charging, turn the breaker off, and get a licensed electrician out. One more thing worth knowing: if a vehicle itself ever catches fire, tell the 911 dispatcher it is an electric vehicle. NFPA maintains dedicated responder training on EV fires precisely because they behave differently from gasoline fires and need a different approach.
What It Costs, and How to Read the Quote
Installation data from Qmerit, one of the larger national installer networks, puts a typical residential Level 2 job between roughly $750 and $2,500, with an average close to $1,700. Charger hardware is $300 to $900 of that and the permit is $50 to $200.
What moves the number is almost never the charger. It is distance from the panel to where you park, whether the run goes through open framing or a finished wall, whether a detached garage needs a trench and a subpanel, and whether the panel has room. A panel or service upgrade adds $1,500 to $4,000 or more on top, which is why the load calculation is worth doing before you fall in love with a location.
Budget without the federal help, incidentally. The 30 percent federal credit for home charging equipment lapsed at the end of June 2026. State and utility programs are a different matter and many still offer rebates or discounted overnight charging rates, so check both before you write the check.
A comparable quote states the charger amperage and breaker size, the conductor size and type, the receptacle manufacturer and model if it is a plug-in job, whether a load calculation was performed, how ground fault protection is being handled, and whether permit and inspection are included. A bid that reads “install EV charger, $1,200” cannot be compared to anything. Verify the license and the insurance yourself, and our questions to ask before hiring covers the rest of the vetting.
The Bottom Line
Size the charger to what your car can actually accept, not to the biggest number on the shelf. Insist on a dedicated 240 volt circuit with the breaker at 125 percent of the charger’s draw and conductors sized to the breaker. If you go plug-in, pay for an industrial grade receptacle and correct torque, and understand that the plug is the part most likely to fail. Get a load calculation in writing before anyone assumes you need a service upgrade, because energy management is often the cheaper answer. Pull the permit. Then pay attention to temperature at the plug for the first few weeks, because a connection that is going to fail usually announces itself as warmth long before it announces itself as smoke.
Codes, permit requirements, and utility interconnection rules vary by municipality, so confirm the specifics with your local building department and a licensed electrician in your area before committing to an install.
Further reading (sources)
- U.S. Department of Energy on how home charging levels compare and what each one delivers
- Qmerit for what a residential Level 2 installation actually costs and what drives the variation
- Wirecutter with tested picks for home chargers and why the bundled cord is so slow
- NFPA covering how responders are trained to handle electric vehicle fires
- EC&M from the dwelling unit load calculation changes in the 2026 code
Feature photo by Paul Gipe, CC BY-SA 4.0, via Wikimedia Commons.